Working with Links
Arbeiten mit Verknüpfungen
Working with Links
With the Export Tool you can save data including their metadata from the TextGrid Repository to a local drive.
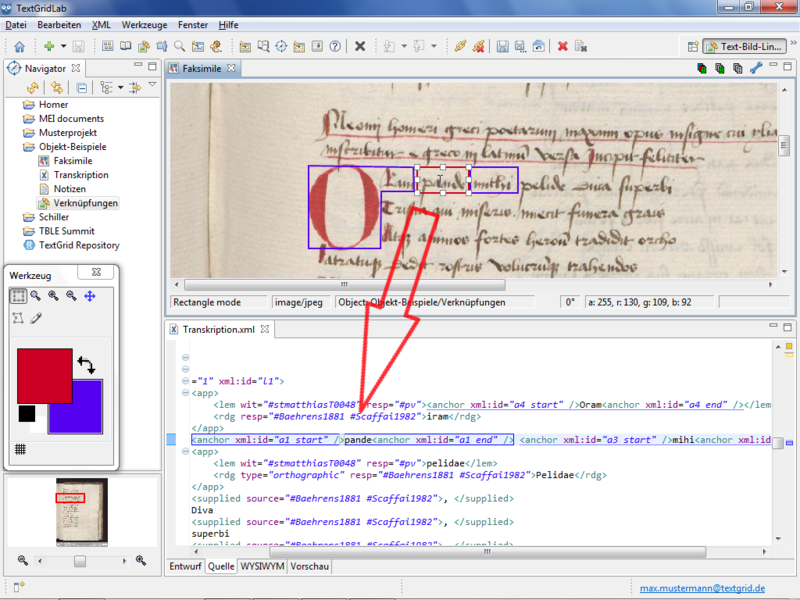
Using the Text Image Link Editor text segments can be linked to image details. A typical application is linking a facsimile to a transcription. Linking a scanned original textes is practical both with an already completed transcription in XML and while processing the transcription. Further application possibilities are for instance image annotation in art history or visualization of different authors in manuscripts.

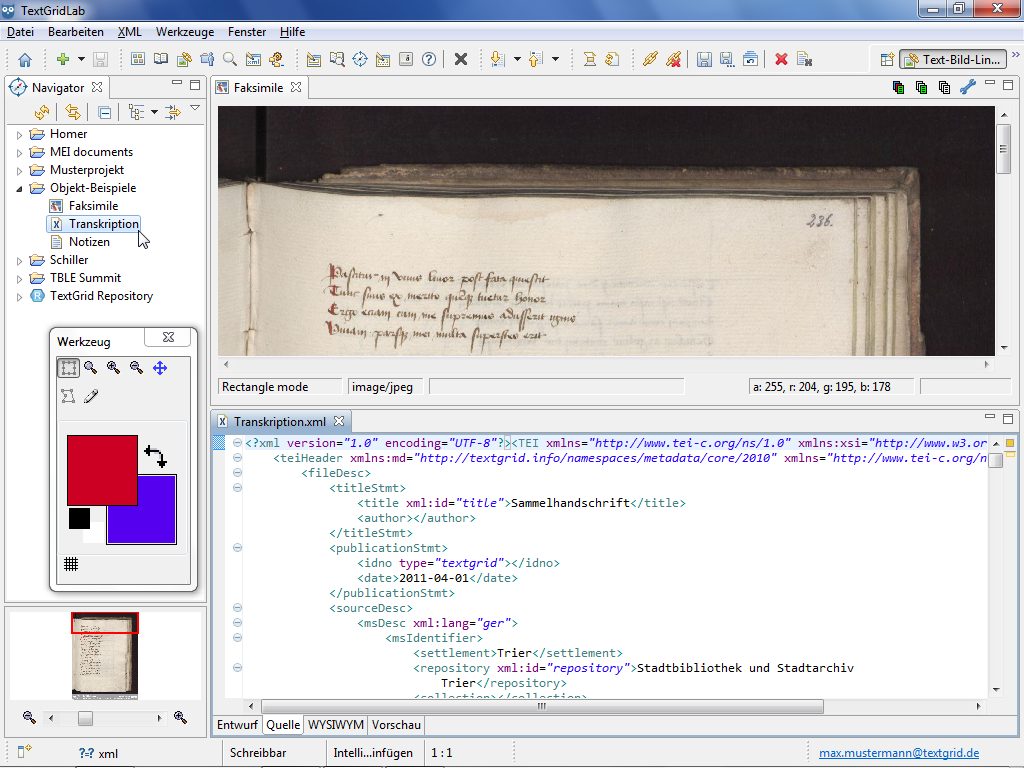
To link an XML text to one or more images you must start the Text Image Link Editor Perspective and open an XML document and at least one image Object.


Create links

Before you can create a link, at least one image detail must be marked as shape. There are two types of shapes available: rectangles and polygons. Further information can be found in the tutorial "The Tool Box".
As long as there exists at least one unlinked shape in the image, a ![]() is displayed in the status bar of the Image View.
is displayed in the status bar of the Image View.
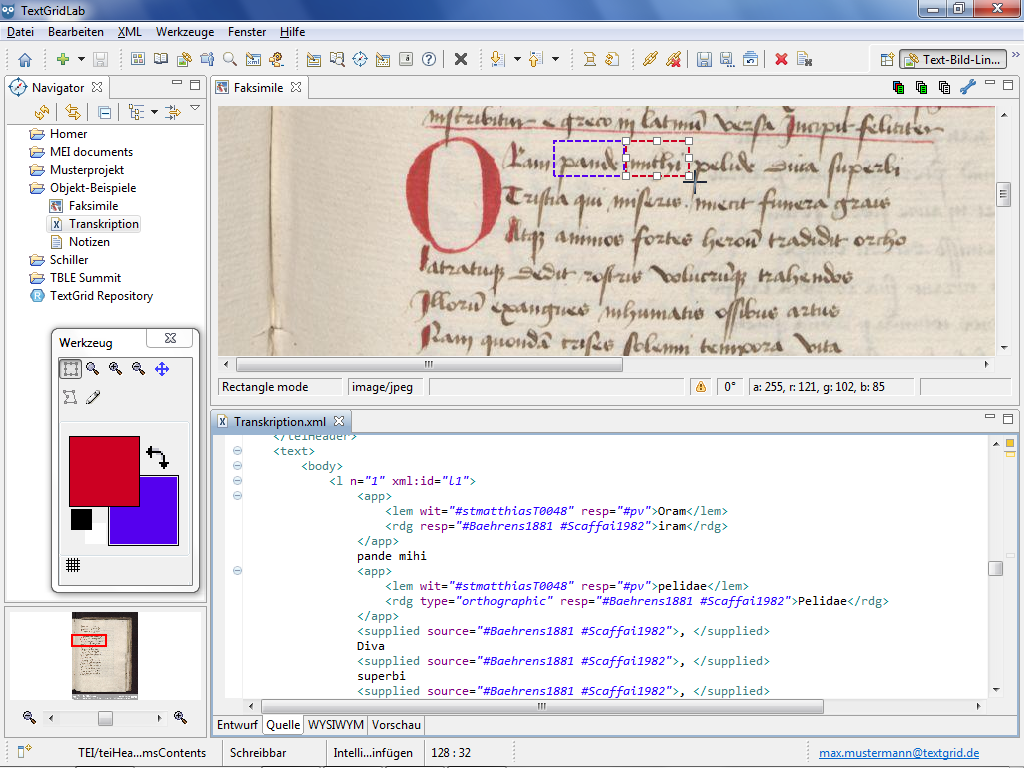

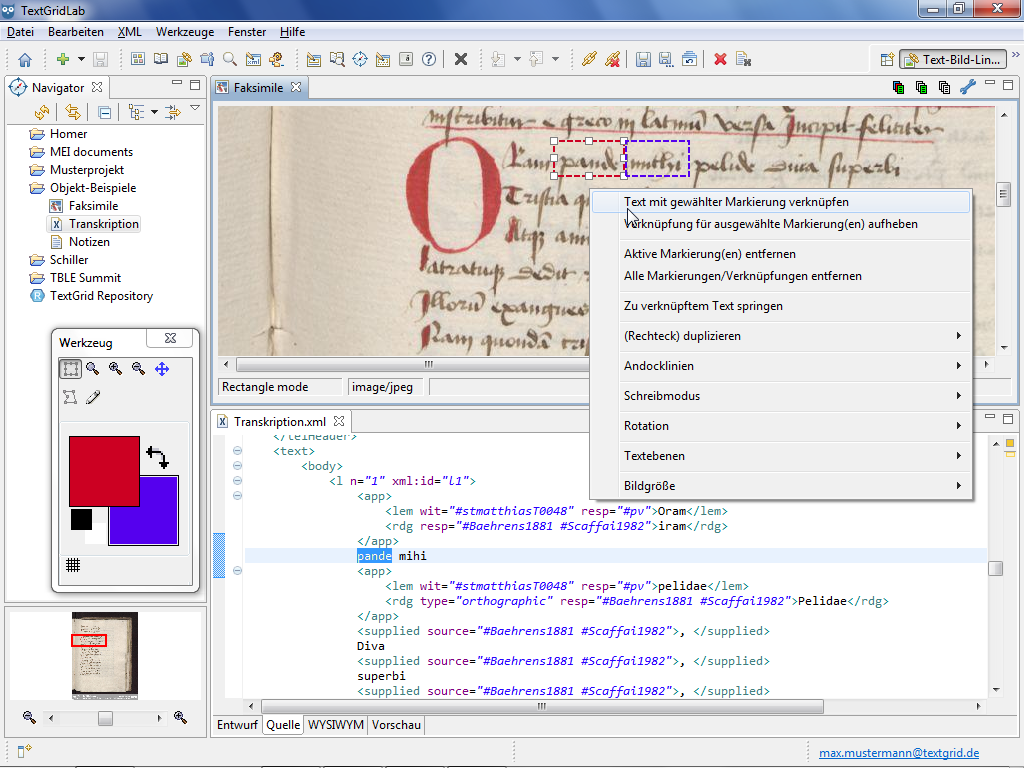
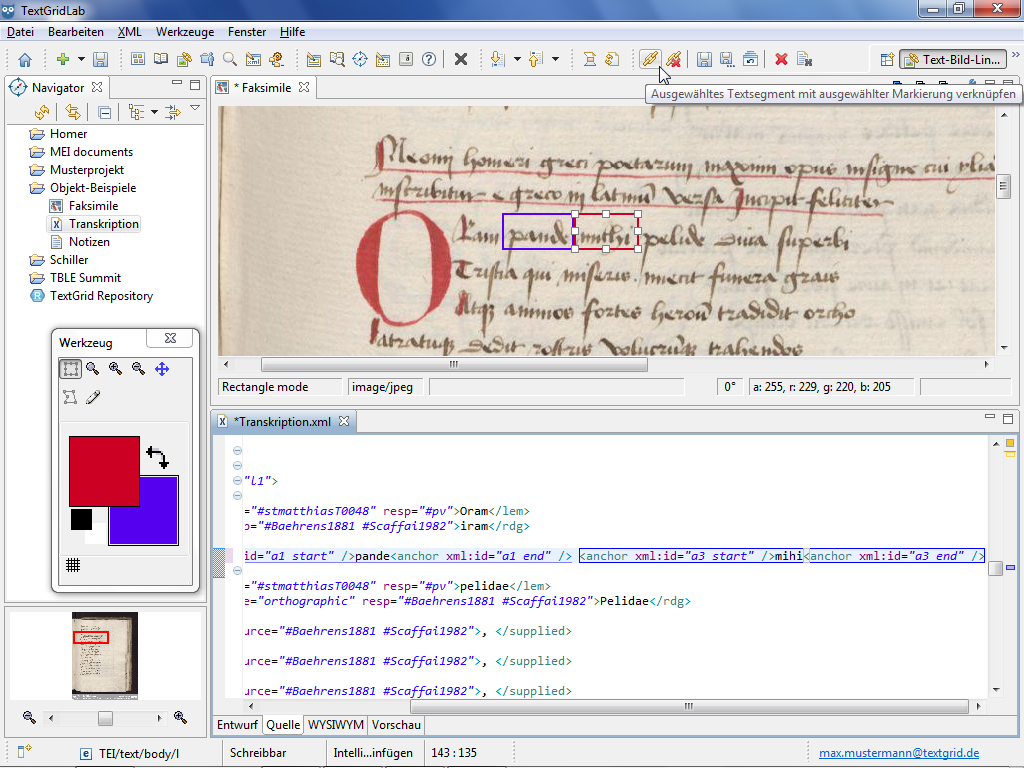
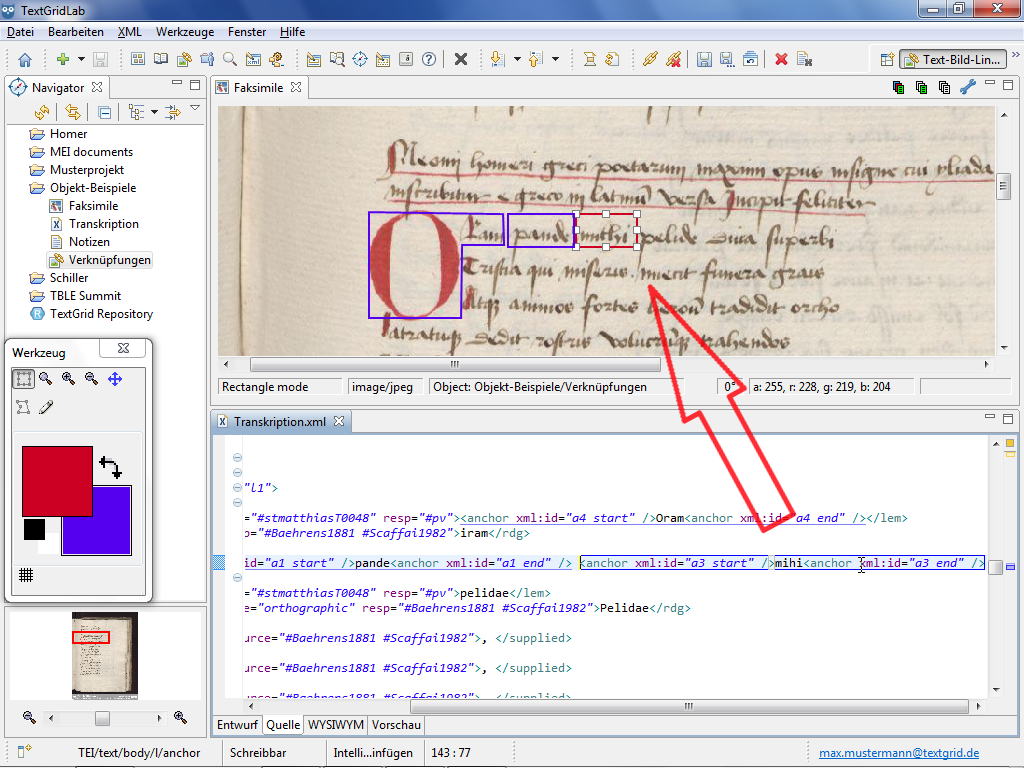
To create a link between the text and an image, select an unlinked shape in the image and an unlinked text segment. Then you can choose "Link text to selected shape" in the context menu of the Image View or click ![]() in the tool bar.
in the tool bar.

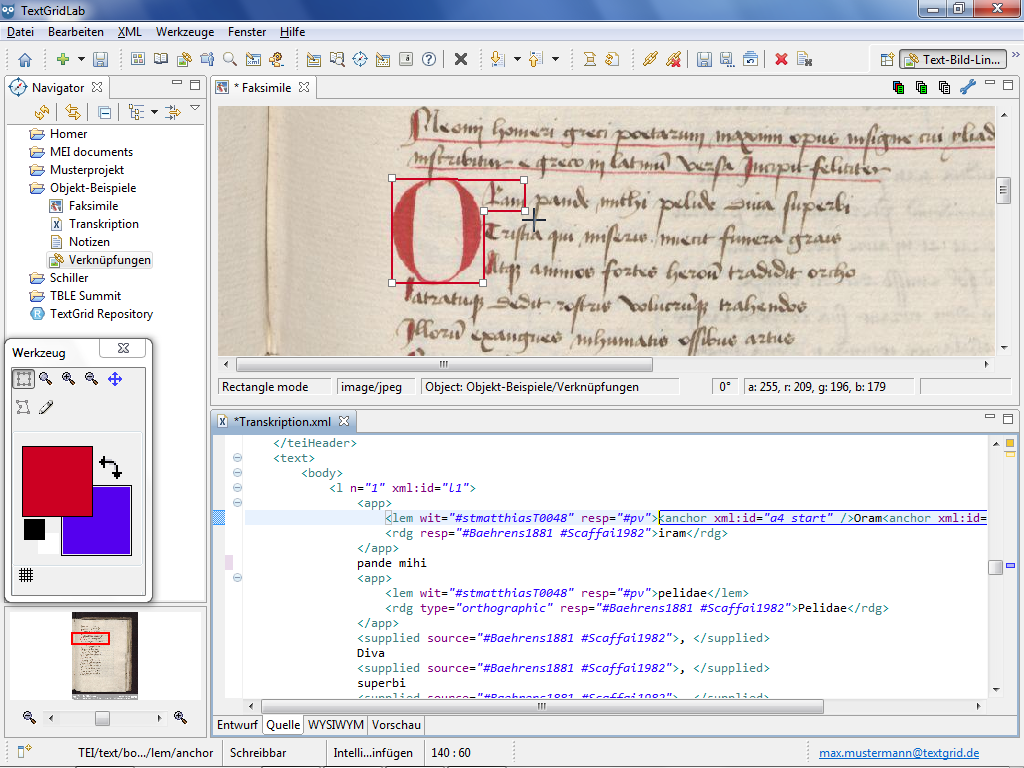
Unlinked shapes are displayed with dashed lines. After being linked the lines of a shape are solid. Linked text is surrounded by two anchor elements and thereby remains well-formed and thus TEI conform.
When the warning triangle disappears after the linking procedure, there exist no unlinked shapes in the Image View any more. As soon as you have created a link, both in the Image View and the XML View an asterisk (*) appears in front of the Object Name. This asterisk points out that the modifications are not saved yet.

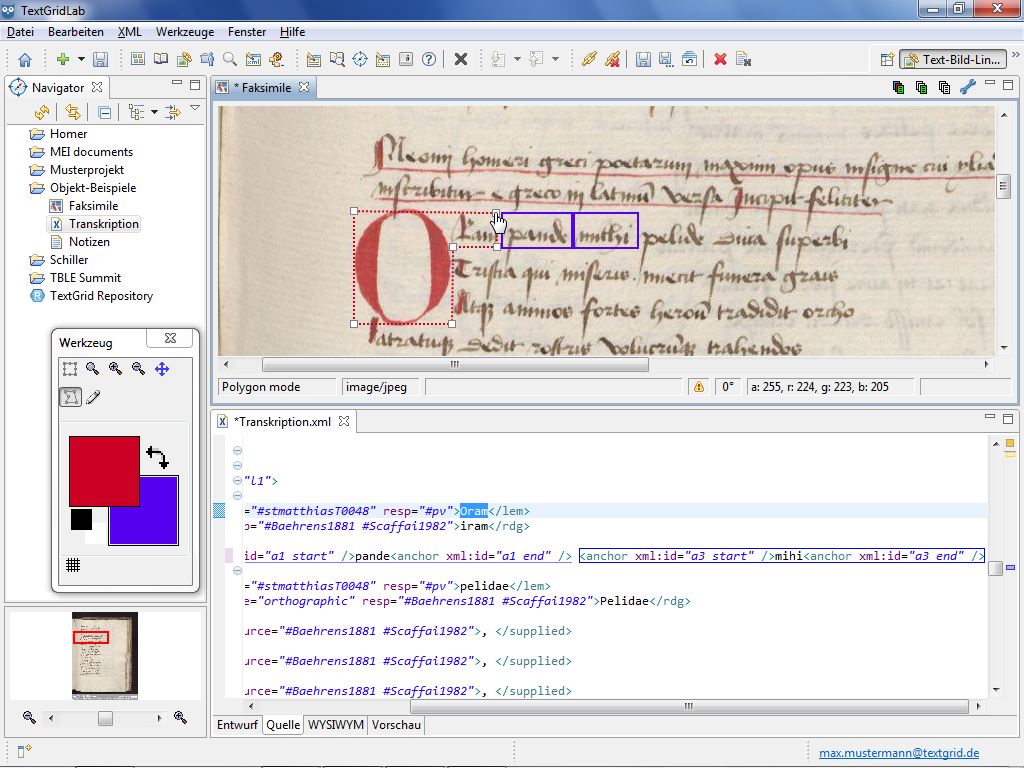
Polygons can for instance be used to mark initials or images in a manuscript. By clicking and dragging polygons can be created as edges are positioned by releasing the mouse button. Double-clicking the last corner completes the polygon.

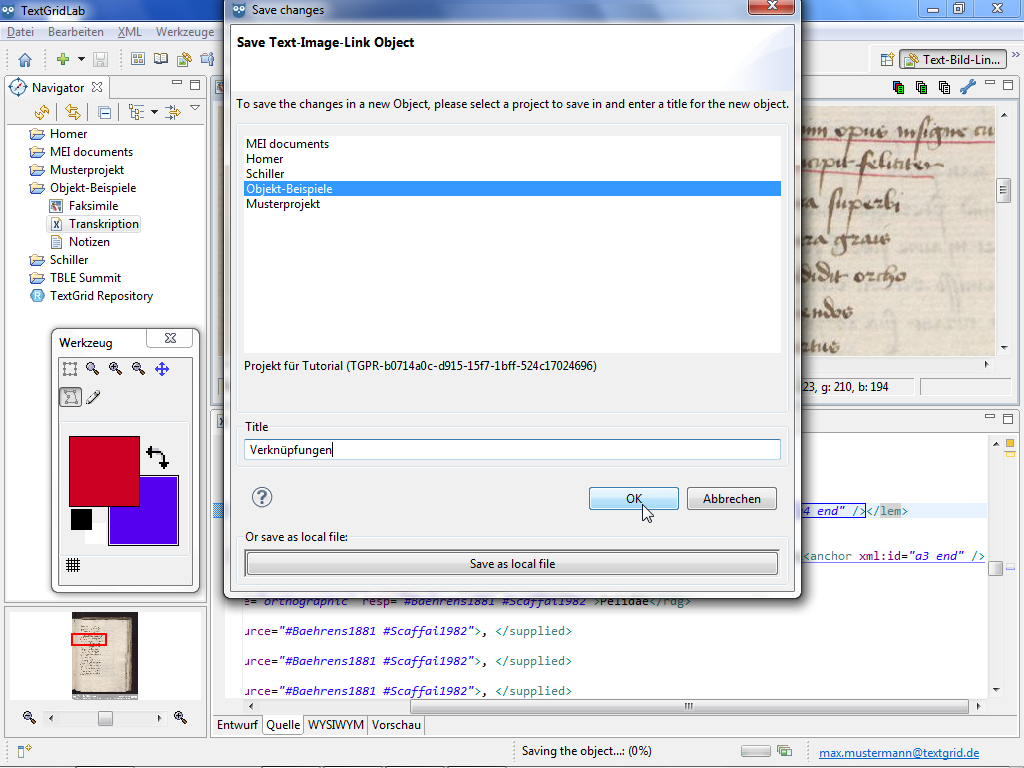
To save the links, you can choose "File > Save All" in the menu bar or click in the tool bar![]() . Then select the target Project in the wizard and enter an Object Title. Except for the tags that have been inserted into the XML text all information concerning the links between the image and the XML document is saved into a separate Object, the image itself is not being modified at all.
. Then select the target Project in the wizard and enter an Object Title. Except for the tags that have been inserted into the XML text all information concerning the links between the image and the XML document is saved into a separate Object, the image itself is not being modified at all.
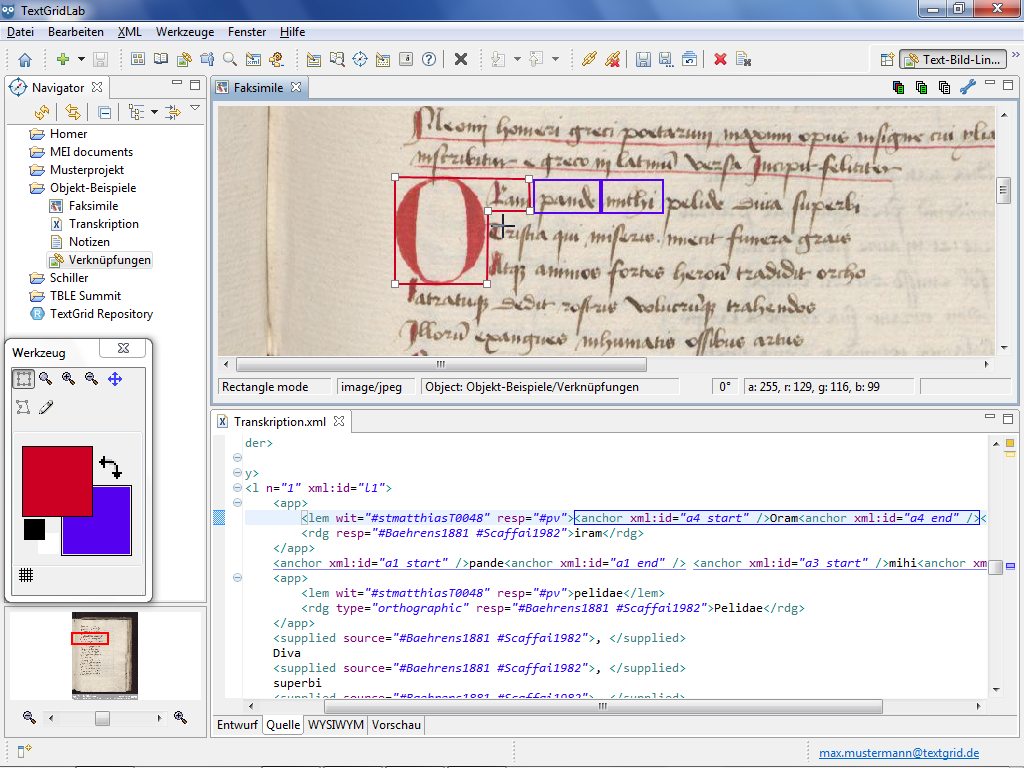
The name of the Link Object is displayed in the status bar of the Image View after saving.

After you have saved this Object, double-clicking the Link Object opens the image and the corresponding XML document stored inside in the im Text Image Link Editor.
Navigate Links

By double-clicking a linked shaped in the image the cursor is automatically set to the corresponding text segment in the XML View.

By clicking a linked text segment the Image View selects the shape linked to it and focuses the corresponding image detail.
Modify Shapes

You can change both position and size of shapes. To move an active shape, move the mouse onto it until the mouse pointer turns into a four-directional mouse pointer. By dragging and dropping the shape can be re-positioned.


When the mouse pointer is moved onto an edge of an active shape the mouse pointer turns into a bidirectional mouse pointer. By dragging and dropping an edge of a rectangular shape you can re-position it and thereby resize the shape. Concerning polygons only corners can be re-positioned but not the border lines themselves.
The selected and thus active shapes are by default displayed in red, inactive shapes in blue. Using the Tool Box you can change these colors.

Unlink Links

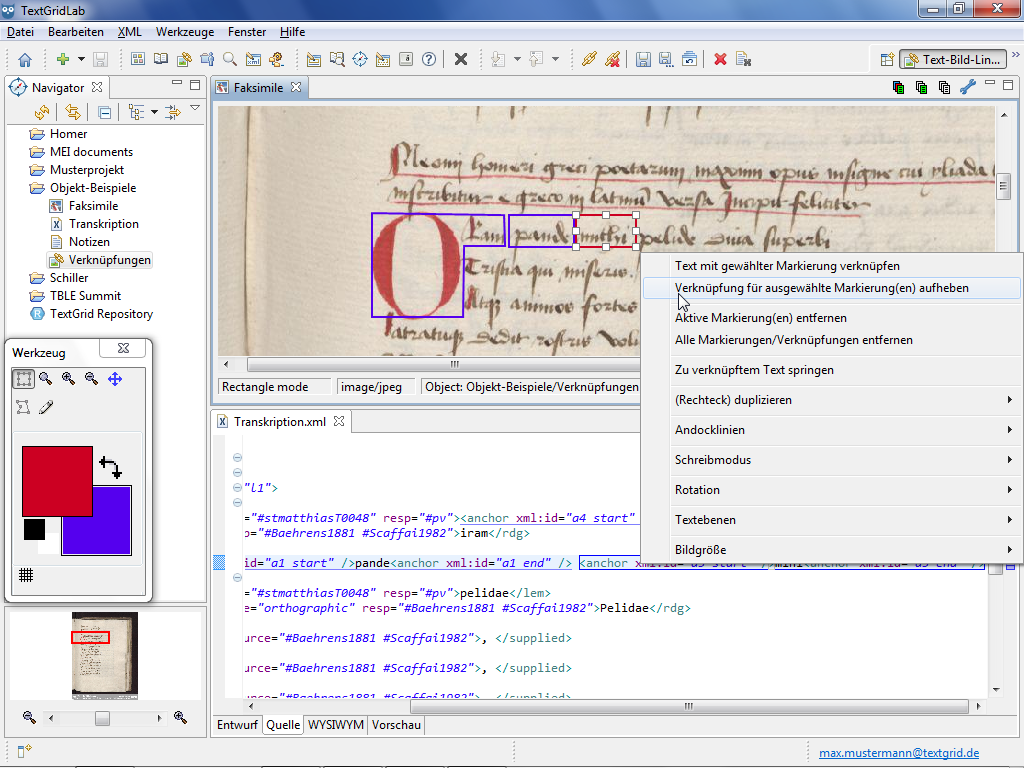
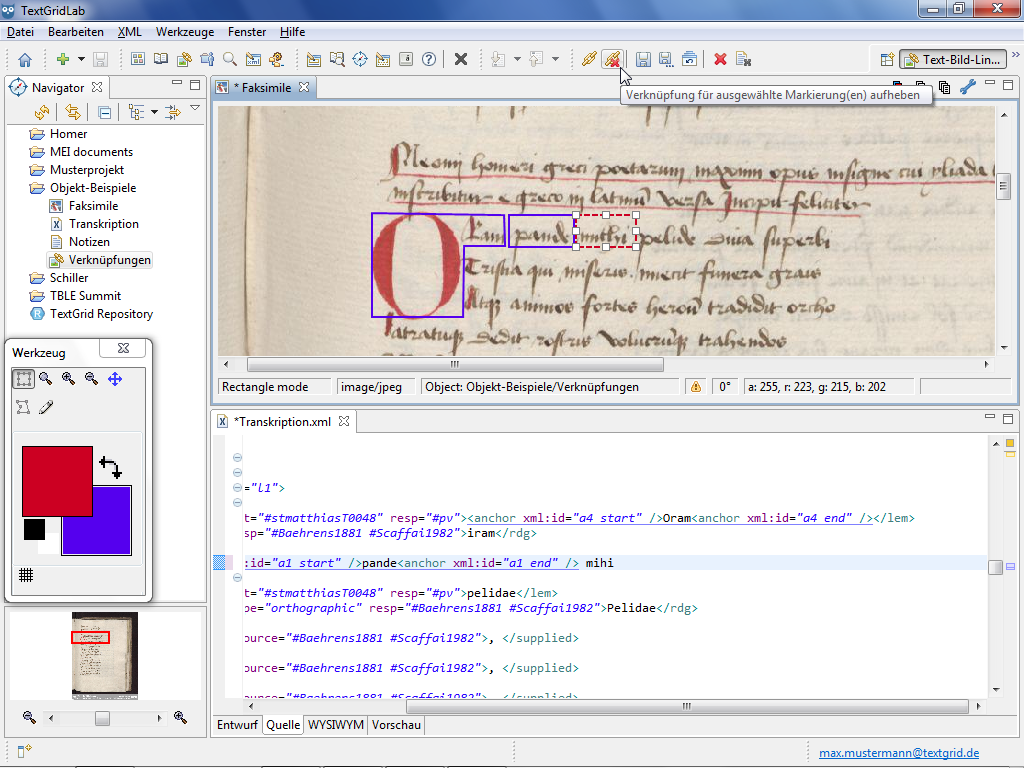
To remove a link between the text and an image, select a linked shape in the image. Then you can choose "Unlink selected Link(s)" in the context menu of the Image View or click ![]() in the tool bar.
in the tool bar.

The anchor elements that previously surrounded the linked text, are removed from the text in this process, and the shape in the image is displayed as not linked as well.
Remove Shapes

To remove shapes in the image select one or more shape(s) and choose "Remove active selection(s)" in the context menu of the Image View.
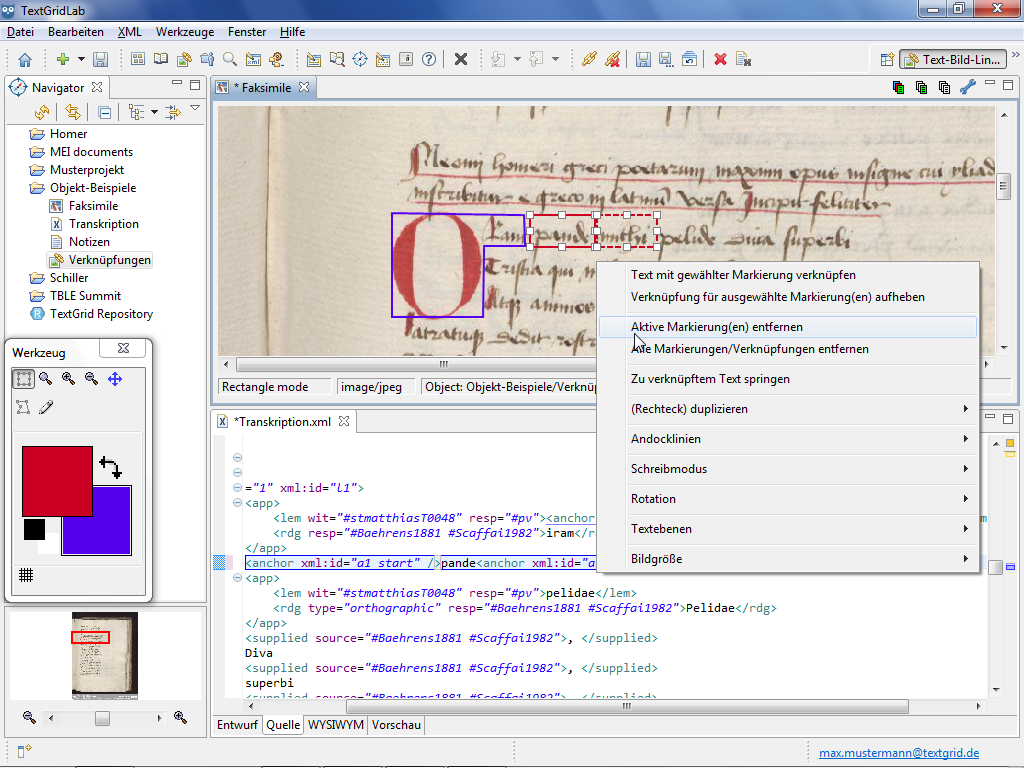

The selected shapes are removed during this procedure. When a shape had been linked before this action, both anchor elements are removed from the text as well. By choosing the corresponding menu item it is possible to remove all shapes and links as well.