Text Layers
Ebenen in Markierungen
Text Layers
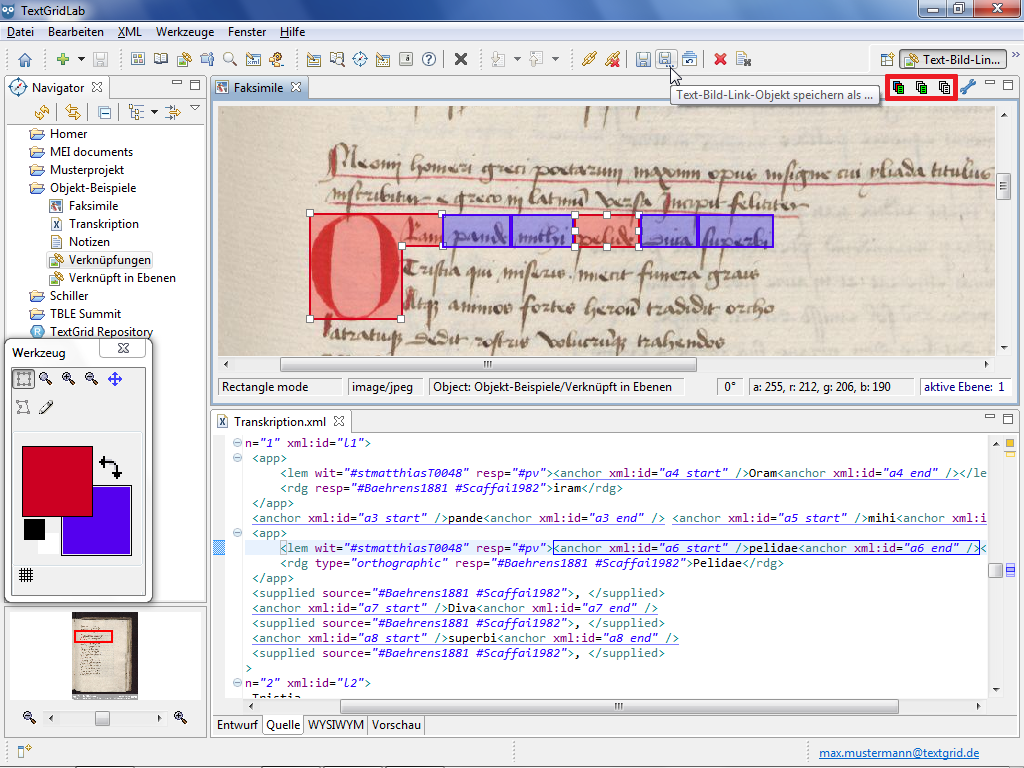
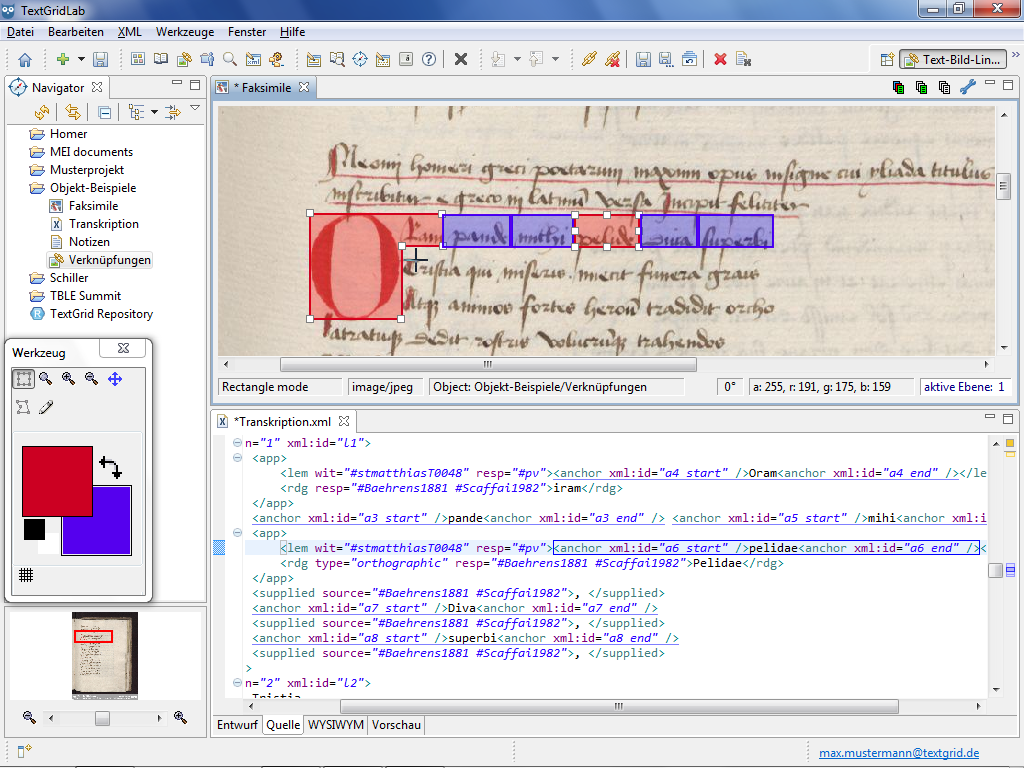
In order to make shapes visually distinguishable and be able to classify them, the Text Image Link Editor allows you to highlight shapes in different colours by using text layers. In this way you can for instance distinguish different authors in a manuscript by using different background colours or highlight differing textual witnesses in a facsimile.

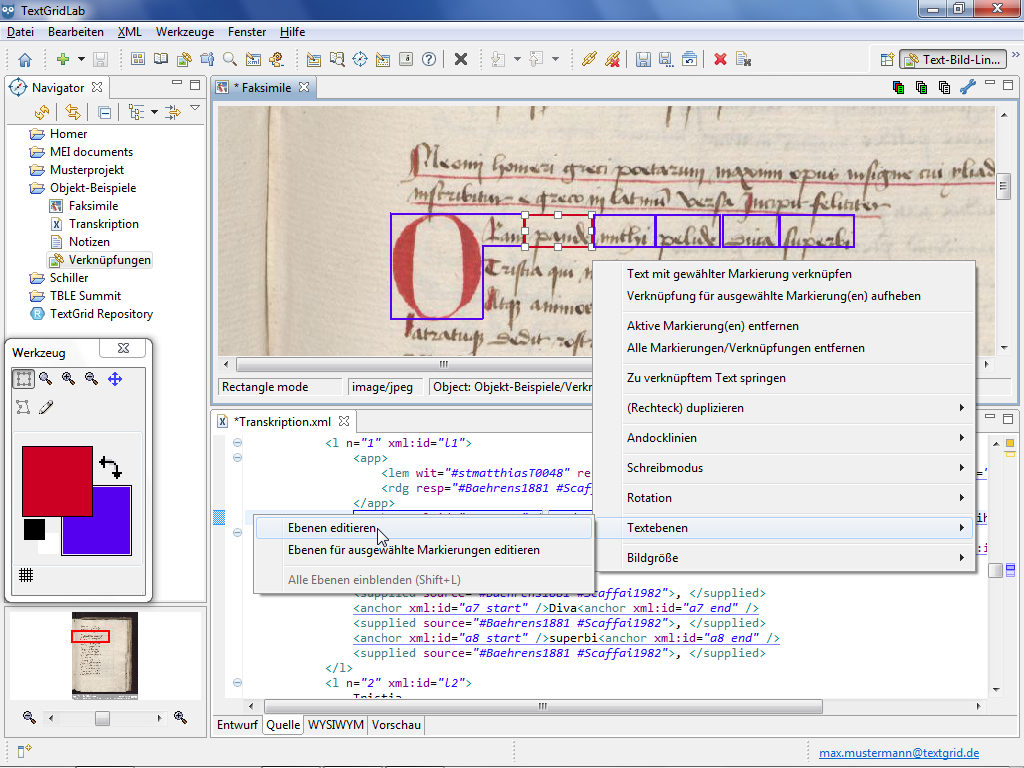
To open the Layer Editor you can choose the subitem "Edit Layers" under "Text Layers"in the context menu of the Image View or click the Layers Status in the status bar of the Image View. The Layers Status is only displayed as long a layer is selected as active, in this case the number of the layer is displayed.

In the Layer Editor all layers that have already been created are displayed and by using the wizard they can be changed or removed as well as expanded by further layers. You can assign a name and a colour to every layer and for this purpose define own colours in addition to the standard colours already provided. In addition you can choose whether a layer is visible or not. Shapes are not displayed as long as they are assigned to a currently not visible layer.
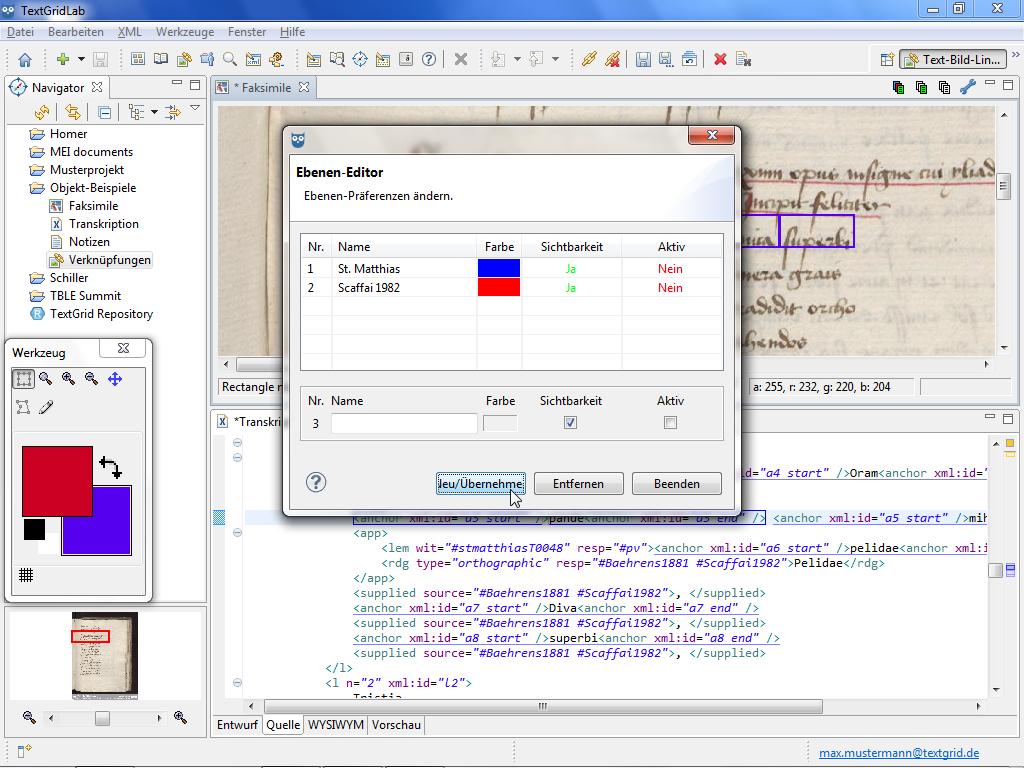

You can select one layer as active layer. The active layer is always visible and thus can not be hidden. All new shapes are automatically assigned to the active layer and are displayed in the corresponding colour when being created. Shapes can only belong to a single layer but do not have to be assigned to a layer at all.


You can also assign shapes to a layer subsequently by selecting the corresponding shapes and choosing the subitem "Edit Layers for selected shapes only" under "Text Layers"in the context menu. The Layer Editor is opened and indicates that the shape is not assigned to a layer, independent from whether the different shapes are actually assigned to one or multiple layers or to none.

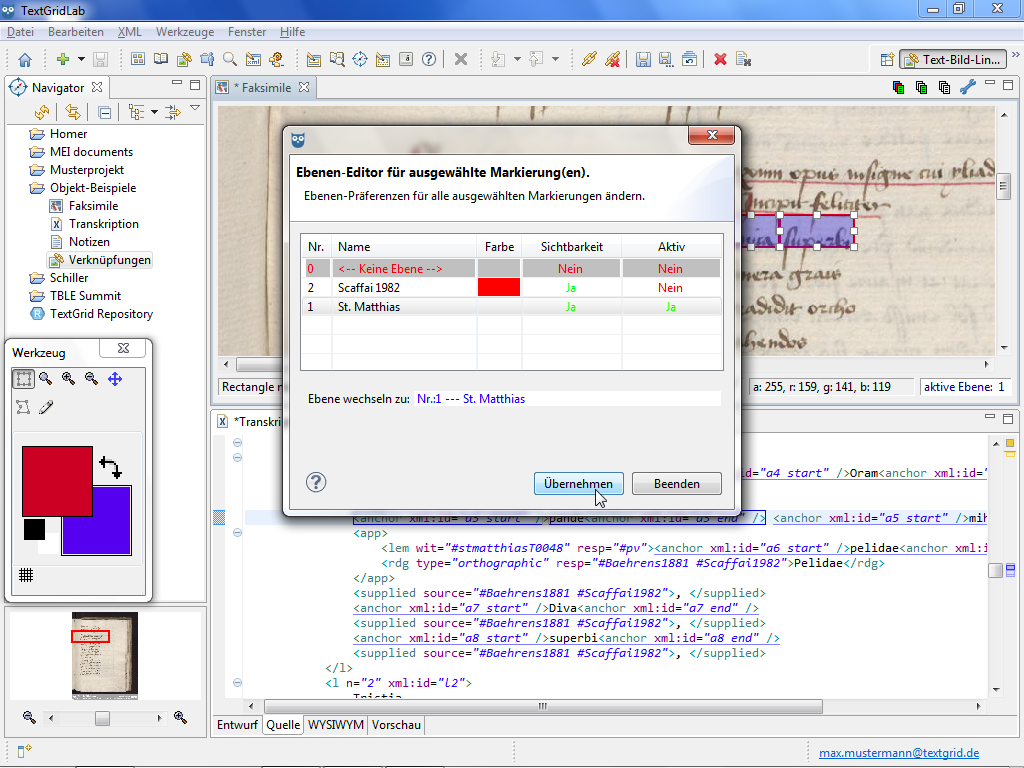


Now you can select a layer and assign the shape to the desired layer by clicking "Apply". You can close the wizard by clicking "Exit". In case you do not want to assign the shapes to a certain layer, you can cancel the procedure without any changes by clicking "Exit".

In the tool bar of the Image View you can choose by using the Layers buttons whether all layers shall be shown or hidden and whether the currently not visible layers shall be displayed as well.