Export of Data
Datenexport
Export of Data
With the Export Tool you can save data including their metadata from the TextGrid Repository to a local drive.
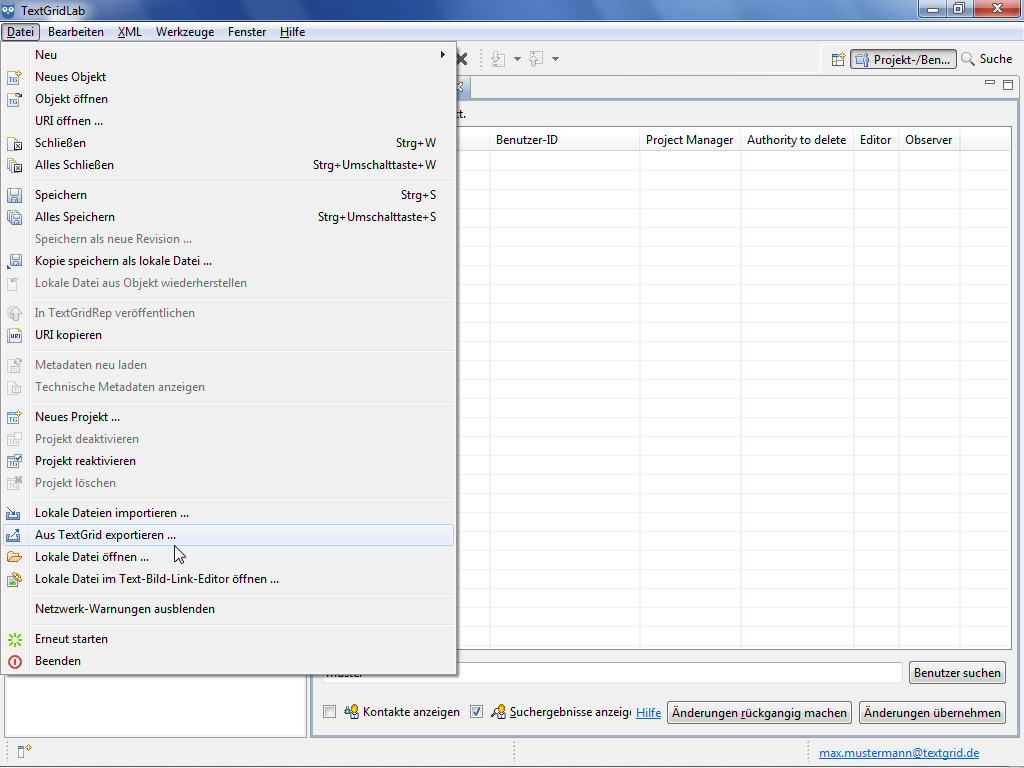
To start the Export Tool, choose "File > Export from TextGrid ..." in the menu bar. A perspective must be open to use the Export Tool.
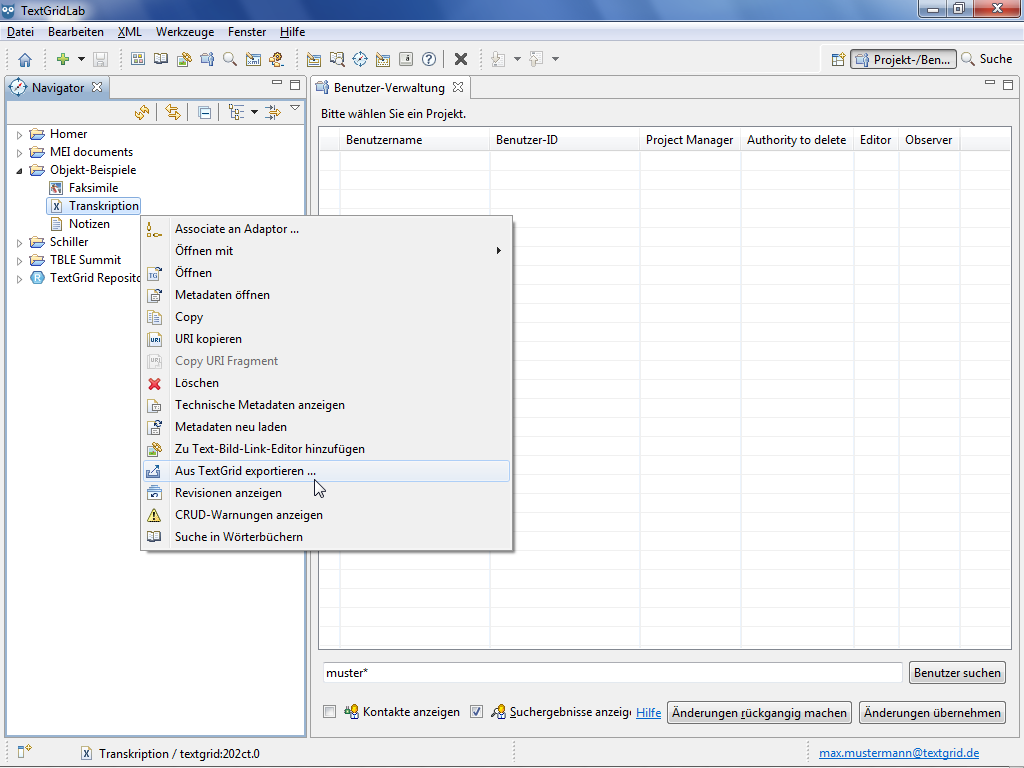
Alternatively you can choose"Export from TextGrid ..." in the context menu by right-clicking an Object in the Navigator or the Search Results View.
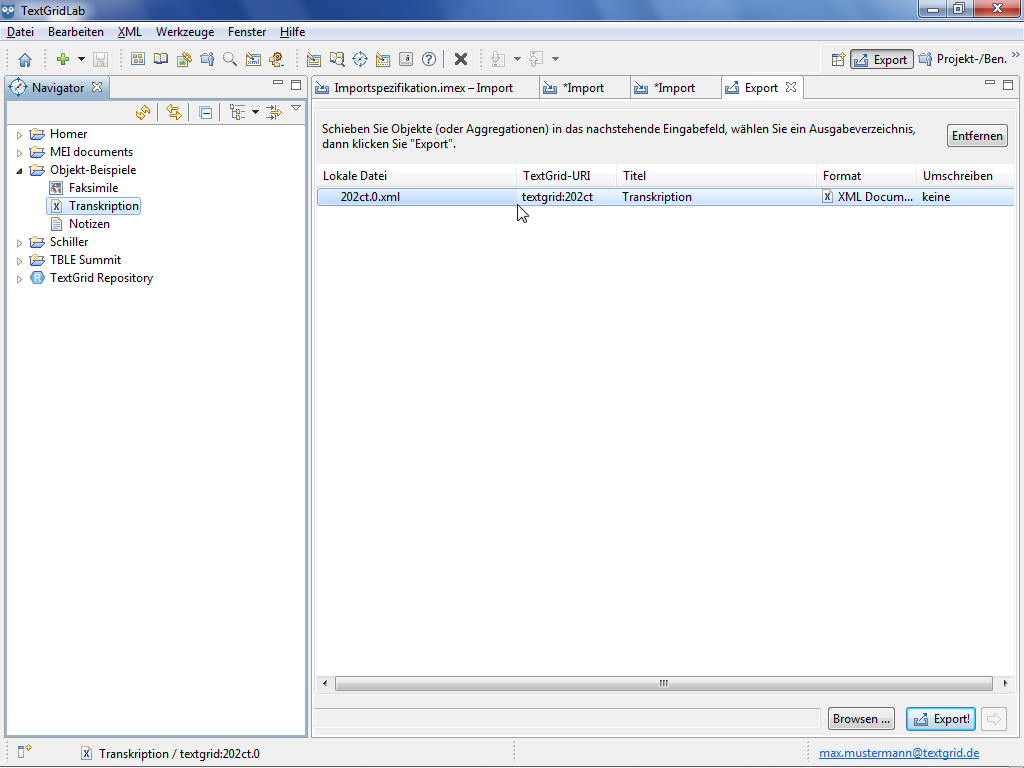
You can add Objects you want to export into the Export View via drag & drop. By clicking the "Remove" button you can remove the Object(s) selected from the list of Objects to export.
By clicking the "Browse ..." button you can choose the target directory in the wizard.
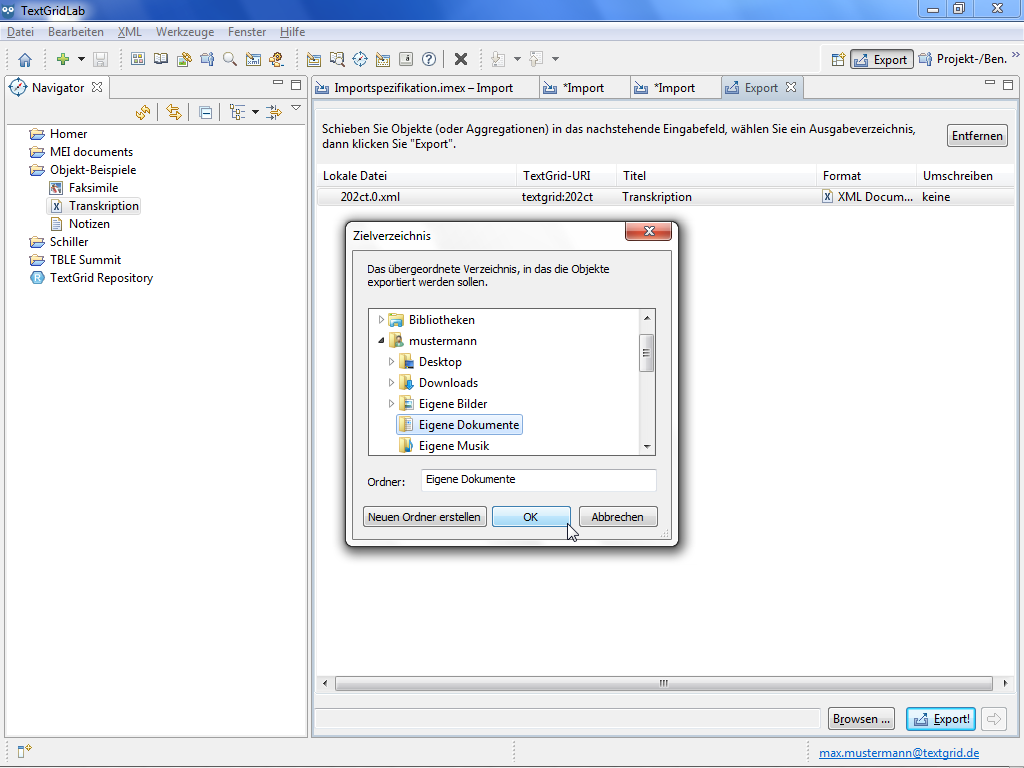
By clicking the "Export!" button the Objects are exported to the target directory. Objects remain in your Project when exported, i.e. they are not moved to your local drive but copied.
The Export Tool creates two files for every Object when exporting them. Together with the file containing the content of the exported Object a second file containing the corresponding metadata is save to the local drive.
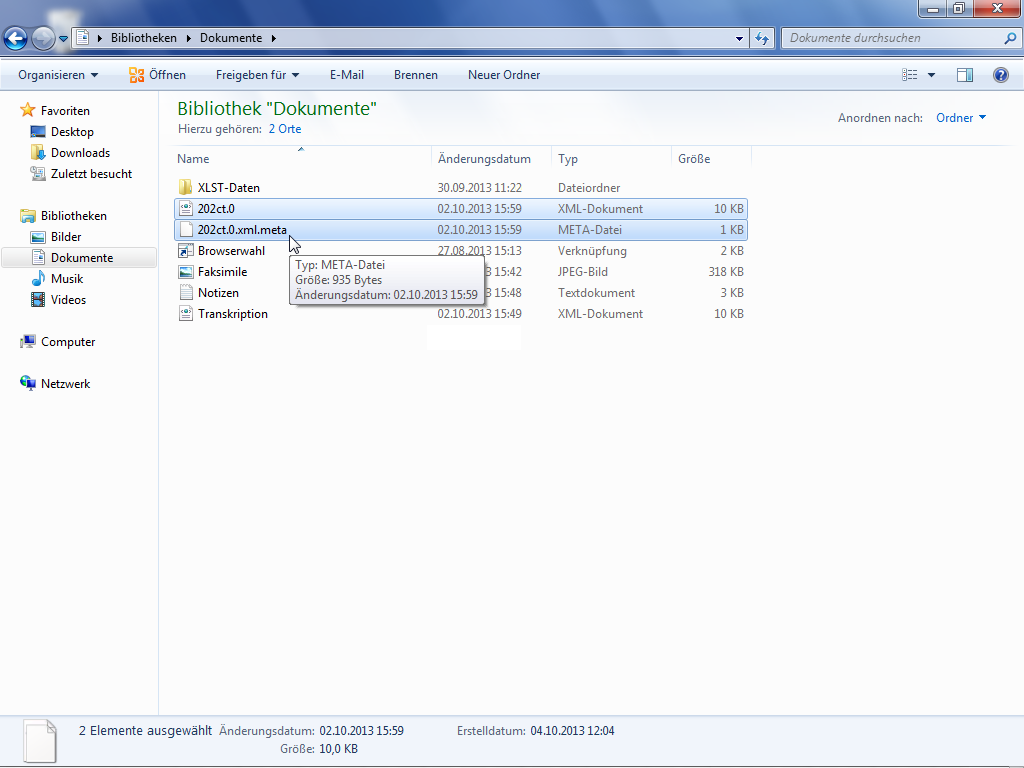
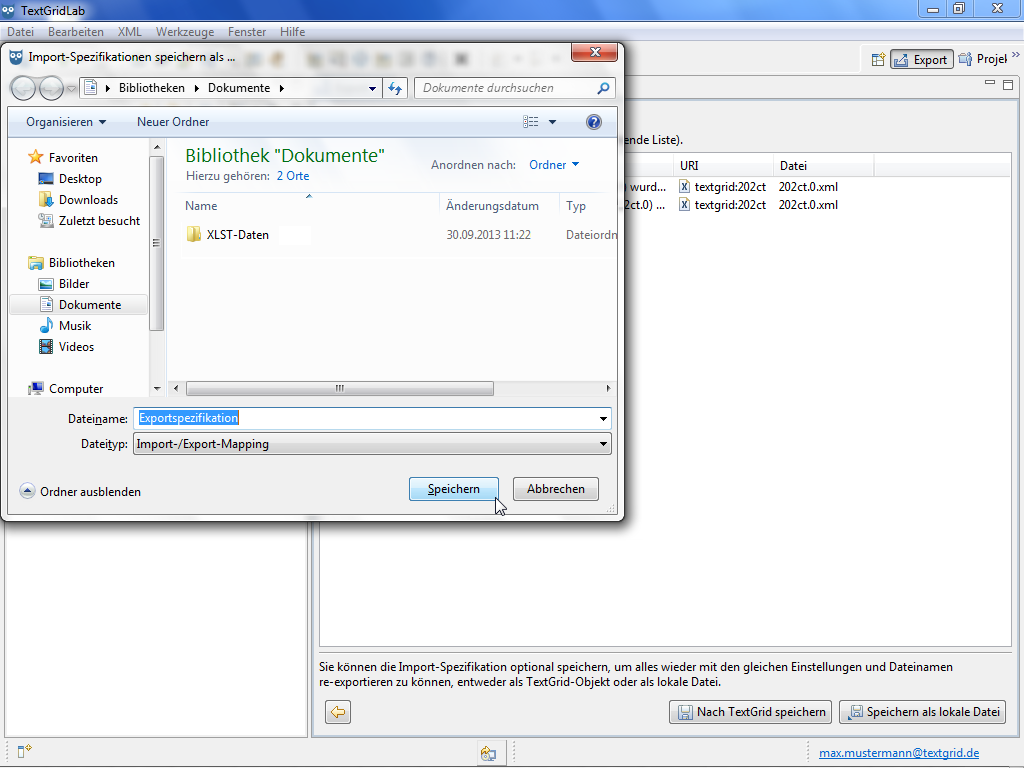
After the Export procedure is completed you can choose to save the Export specifications optionally as TextGrid Object or as local file, to be able to import or export data with the same configuration and file names again. Saving these specifications is not necessary to save the data to export completely and correctly though.
Tutorial-Übersicht
Overview of Tutorial
First Steps in TextGrid
- Installation – Download and System Requirements
- Login – User Name and Password
- Graphical User Interface – Perspectives und Views
- Documentation and Support
Object Administration
- Navigator (Project Administration)
- Create New Project
- User Administration (Rights Management)
- Import of Data (and Re-Import)
- Export of Data
Text Image Link Editor
Cookies und Tracking helfen uns, Ihnen auf unserer Website ein besseres Erlebnis zu ermöglichen.


